how to process timelapses with keyframes
vkdt natively supports animations (see the esoteric->animation expander
in darkroom mode). it is therefore straight forward to process timelapses.
load an image sequence
to wire consecutive images in a timelapse sequence to individual frame numbers
in an animation, use
the i-raw module for raw images or
the i-jpg module for jpg images.
they both support loading animations in the following way: you should set the
filename parameter to say IMG_%04d.CR2 and the startid parameter to the
first image in the sequence (say 305 if IMG_0305.CR2 is the filename of the
first frame). the module will then construct a filename for every frame,
starting at startid and using the total frame count set on the graph. you can
also set the fps global parameter in the .cfg file to control playback
speed (also accessible in the esoteric→animation expander in the gui).
vkdt will drop frames if it cannot decode the files from disk fast enough.
to see whether that worked, press space to play the animation (or use the
play button in the gui under the histogram). pressing space again
will pause and backspace will reset to the first frame.
if you have an image sequence that consists of ordered filenames (because for instance you put the exif timestamp in the filename) but the are not numbered consecutively, you can use a simple bash script to rename the sequence. this example works on a directory full of nikon NEF files, you have to adjust it to your needs:
#!/bin/bash
ls -1 *NEF | sort | nl > filenames
while read -r line; do
    num=$(echo ${line} | cut -f1 -d' ')
    src=$(echo ${line} | cut -f2 -d' ')
    dst=$(printf img_%04d.NEF ${num})
    echo "mv ${src} -> ${dst}"
    mv ${src} ${dst}
done < filenames
rm filenames
if you have a directory of such files opened in lighttable mode, you can
select all (ctrl-a) and then press the button selected images→create video
to alter the history stack of the first image in the selection to become
your new video. it'll be auto-assigned the video label. you can filter by that
in the collect expander in lighttable mode so'll find it more quickly next time.
using keyframes
working with keyframes is simplified a lot by using the dopesheet widget:
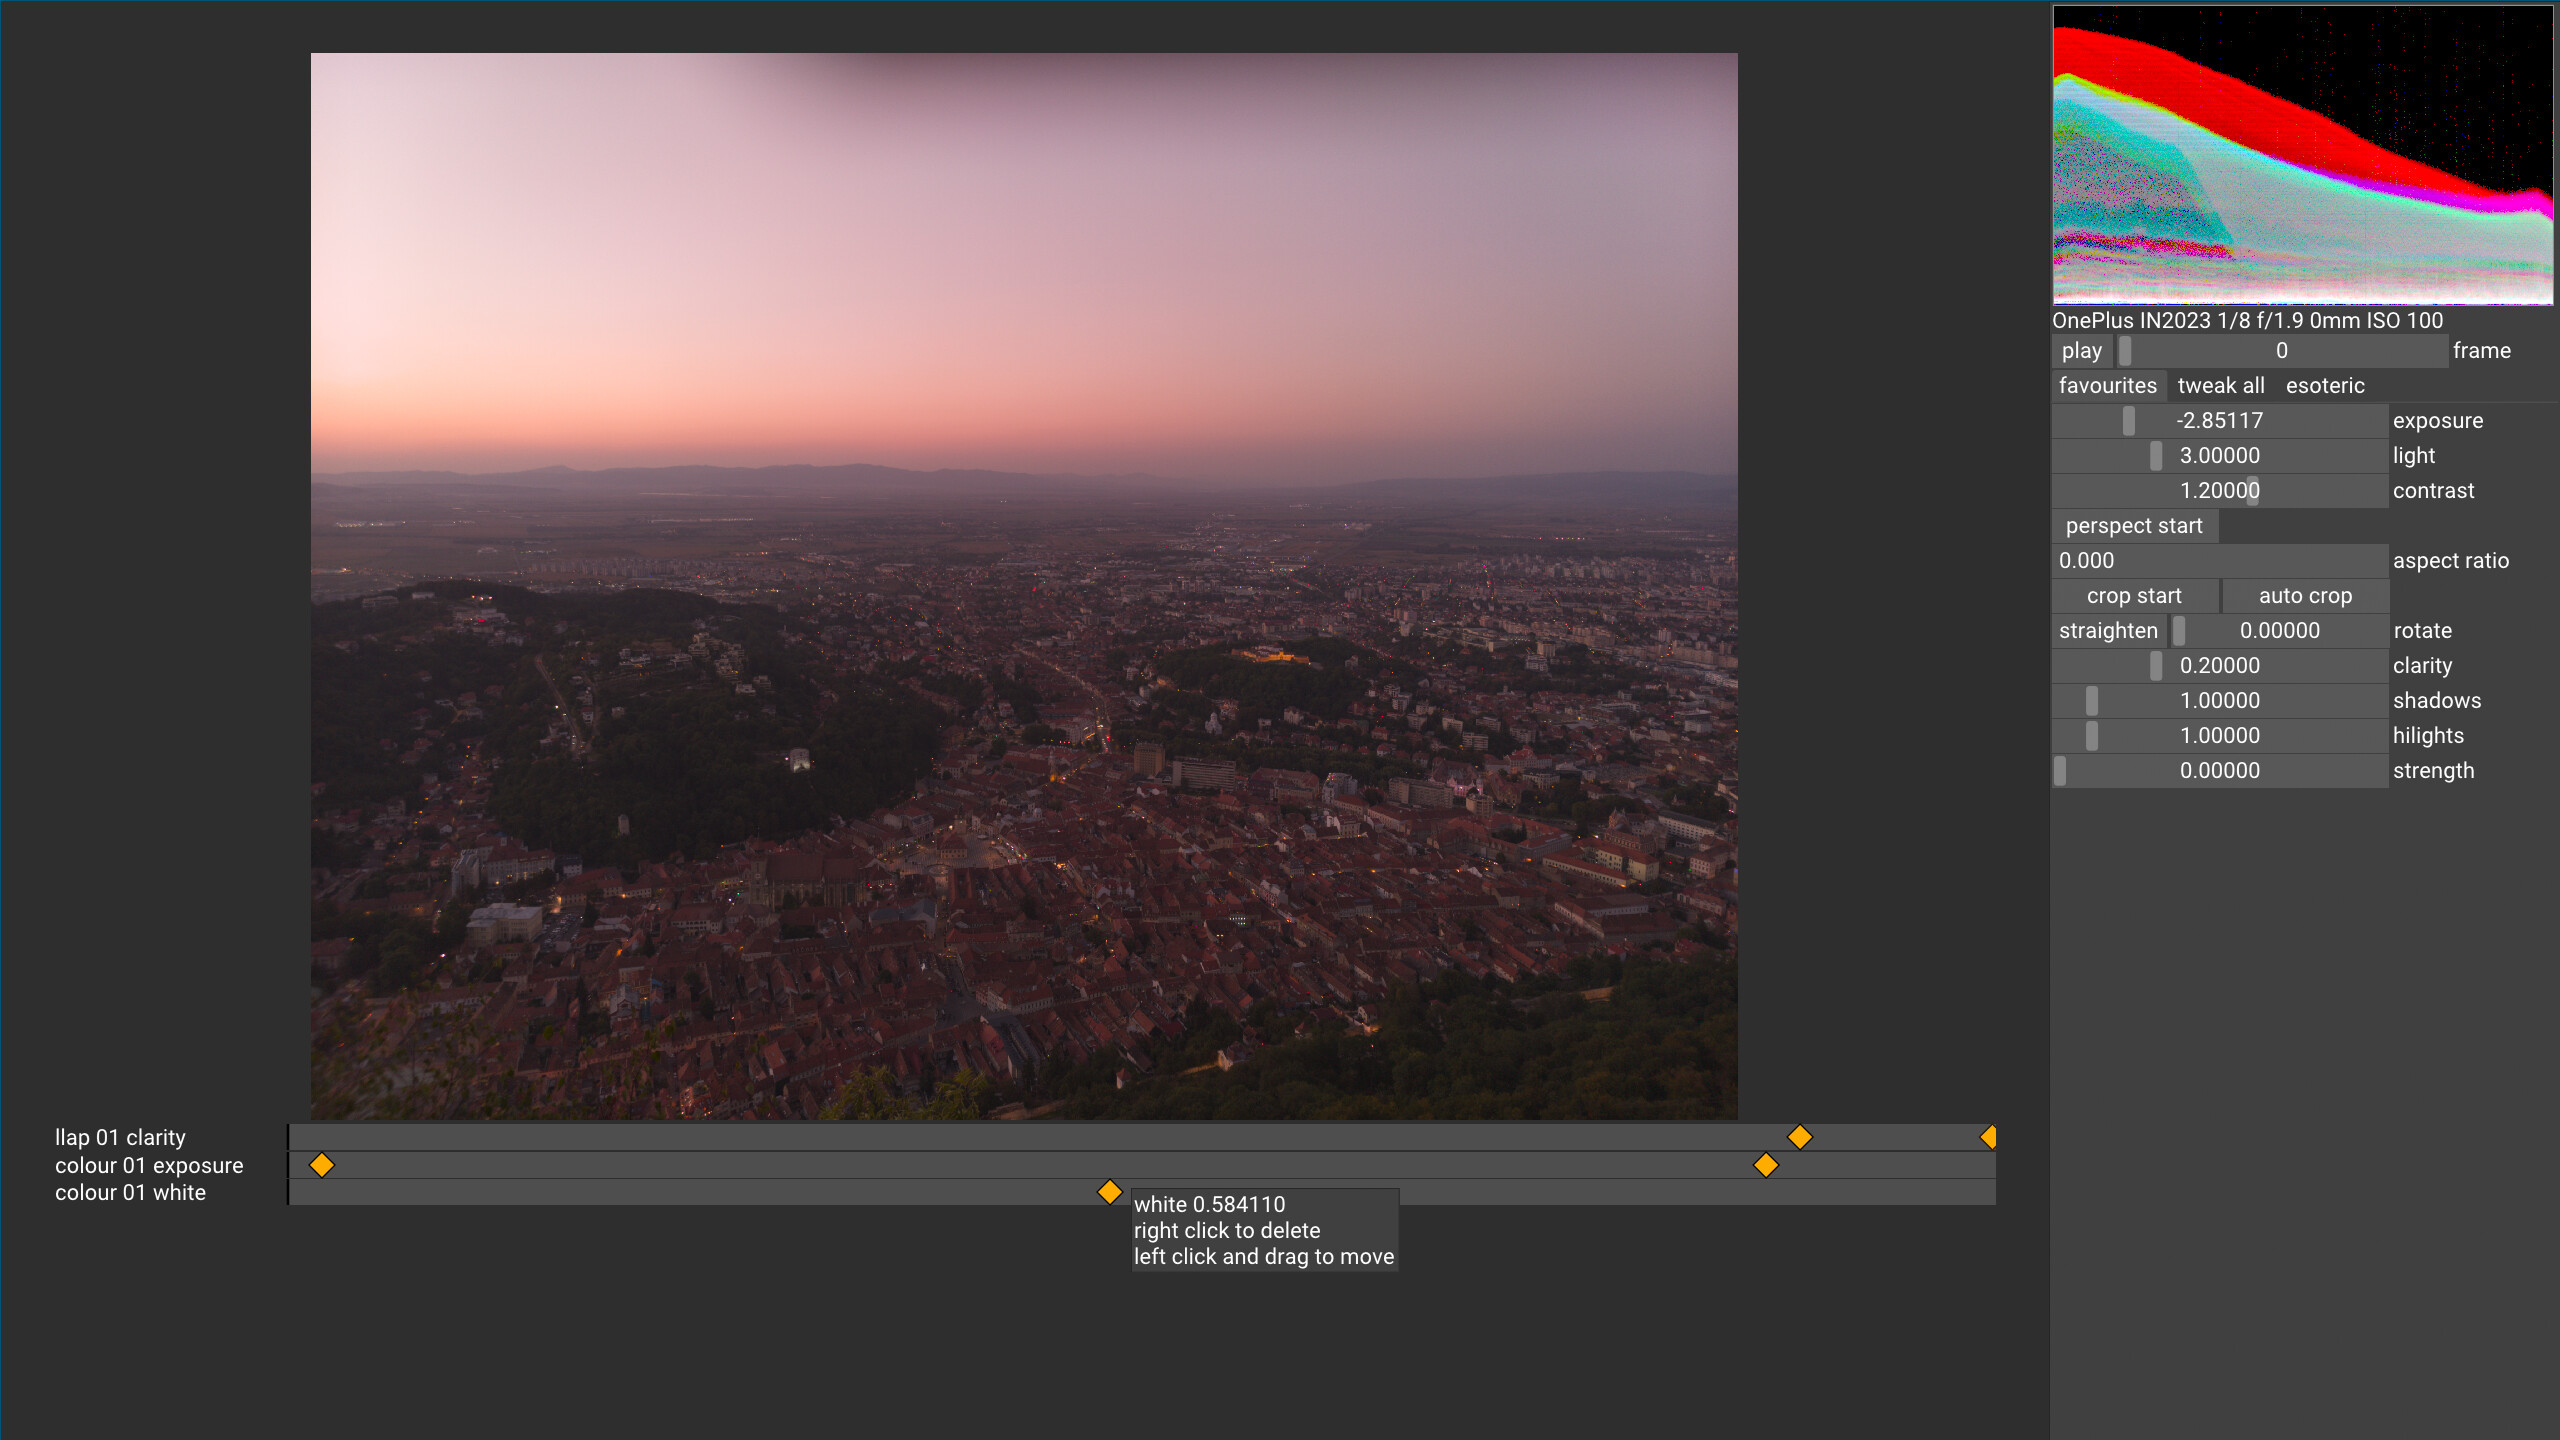
to show it, press the button in the esoteric→animation expaneder in
darkroom mode (or by default the key accel ctrl-d if you didn't reassign this).
note that the procedure described here will also work for single image animations (say you want to zoom/rotate it or fade it in), video input (ldr or raw), or rendered animations.
to create a keyframe, make sure the animation is set to the correct frame and paused. then hover over the control of the parameter you wish to create a keyframe for. this also works with keyboard/gamepad navigation.
then create a keyframe by pressing the associated hotkey (default ctrl-k, you
can adjust it to your liking in the settings→hotkeys dialog).
to test whether this worked, you will want to create at least a second
keyframe: navigate to the other frame, change the parameter of the same control
to something else, keep hovering over the control, press ctrl-k again.
keyframes are sample and hold i.e. the first keyframe is valid from the beginning of the movie, and the last one until the end.
if you play the animation from the start now (press backspace followed by
space) you should see an effect. a good first test could be the rotation
parameter of the crop module.
exporting animations
there are a few options to export animated content. you can either use a
sequence of individual images by using say the
o-jpg module. you can also directly
write video output.
note that this will output the video stream and the audio separately in a
different file, it is currently necessary to manually combine them in a single
container after export.
if exporting to prores PQ in high bit depth, take care to avoid clipping in darkroom mode before export.