draw: raster masks as brush strokes
this module rasterises a drawn mask (single opacity channel). to be useful, it
has to be combined with blending. quick access is possible by adding the draw
block template to the graph (see data/blocks/draw.cfg and the insert block..
button in the pipeline configuration tab in darkroom mode).
for the impatient, there are also two examples in the repository:
examples/draw.cfg and examples/draw-guided.cfg. be sure to copy a
test.cr2 file into the examples/ directory before testing.
this block also contains a guided filter blur for edge-adaptive smoothing of the resulting mask.
the module allows to draw line segments by clicking and holding the left mouse button while drawing a stroke. releasing the button will finalise the stroke. to remove the last stroke, press the right mouse button.
you can also alter the properties of the strokes: opacity, radius, and hardness. these properties can be set globally as parameters on sliders, and will change the look of all the strokes in this instance even after they have been drawn. to vary the individual strokes, you can change the properties per vertex using the scroll wheel:
- scrolling changes the radius per vertex
- ctrl-scrolling changes the hardness per vertex
- shift-scrolling changes the opacity per vertex.
these properties are then multiplied to the global settings changed via the sliders for the final result. the per-vertex properties are indicated in the ui as two circles: the outer circle is the radius, the inner indicates hardness. opacity is shown as a small quad that is square for full opacity and very thin for low opacity.
blending is performed in such a way that the strokes add up opacity up until a maximum
value of what is set as opacity parameter (for instance in the gui with slider). this
way you can easily draw masks of level opacity, since the strokes merge seamlessly.
parameters
opacitythe global opacity of all brush strokes in this instanceradiusthe global radius of all brush strokes in this instance, as fraction of image widthhardnessthe global hardness of the brush strokes. 1.0 means no featheringdrawthe array of coordinates of the brush strokes. these are set in the gui by drawing with the mouse
examples
the following images are a collection of brush strokes achieved with various settings, and they also show the visual feedback of the mouse cursor.
the outer circle shows the size of the stroke (radius).
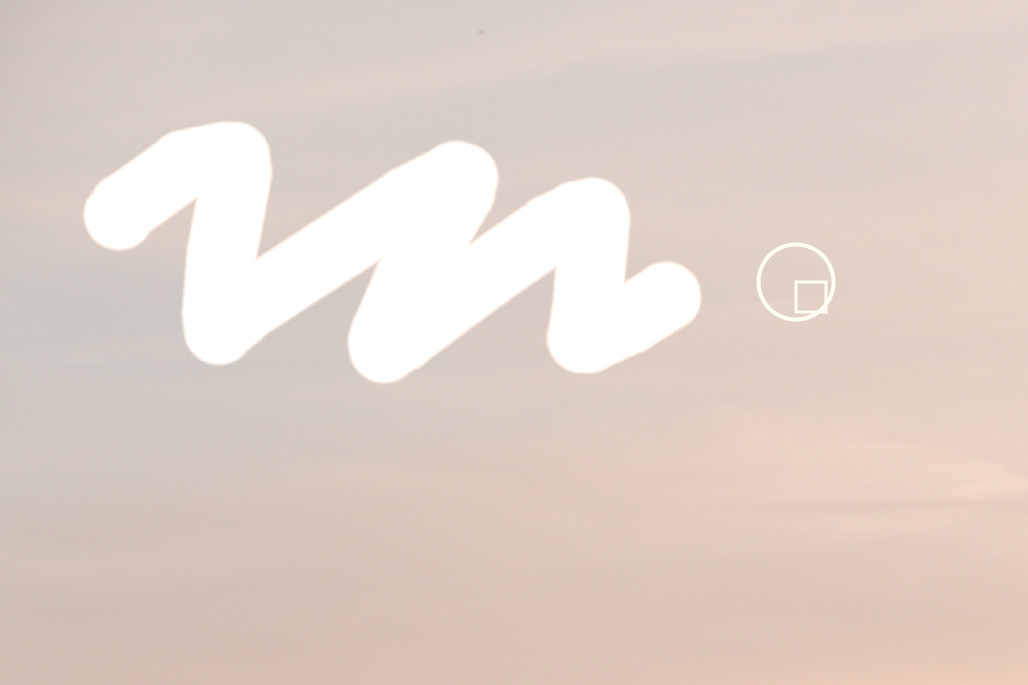
scrolling enlarges the radius.
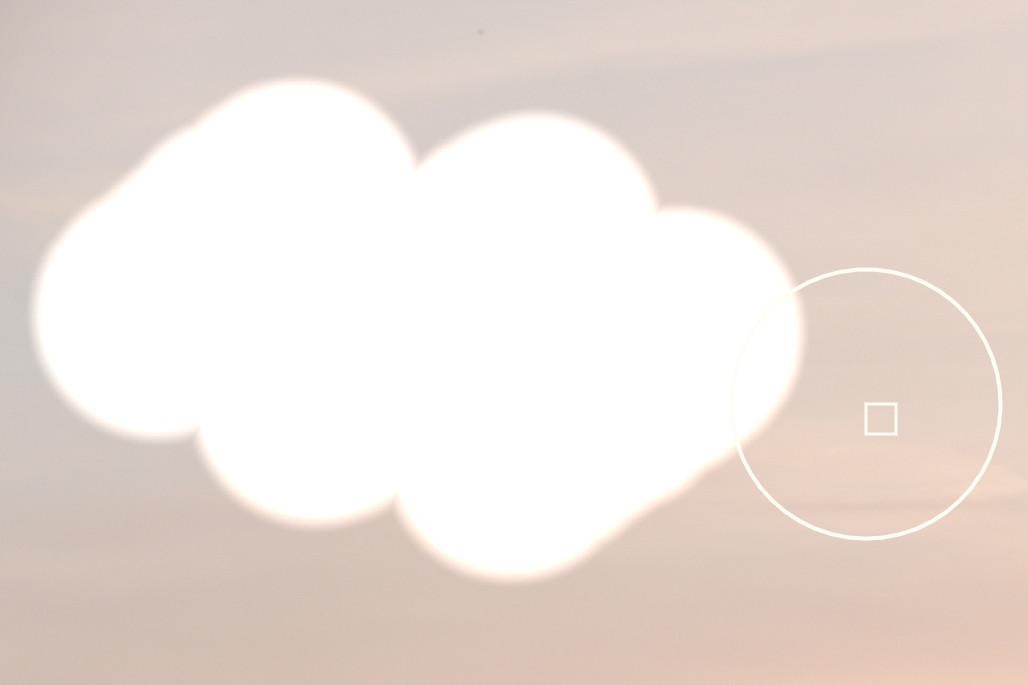
shift-scrolling changes the opacity, shown by the squareness of the little quad.
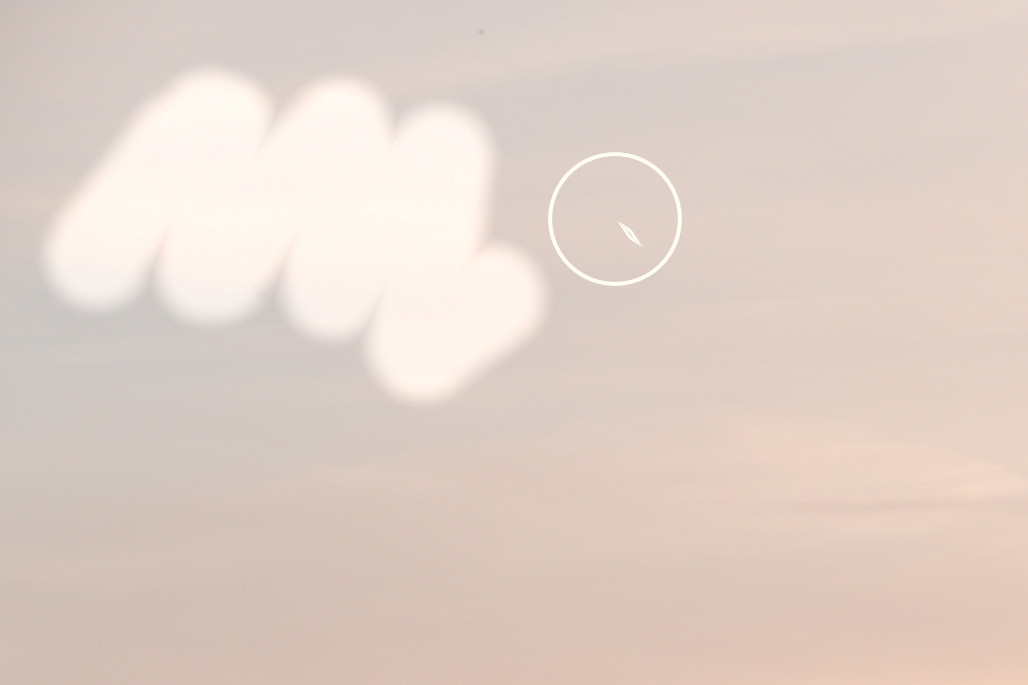
hardness is indicated by the relative size of the second, inner circle.
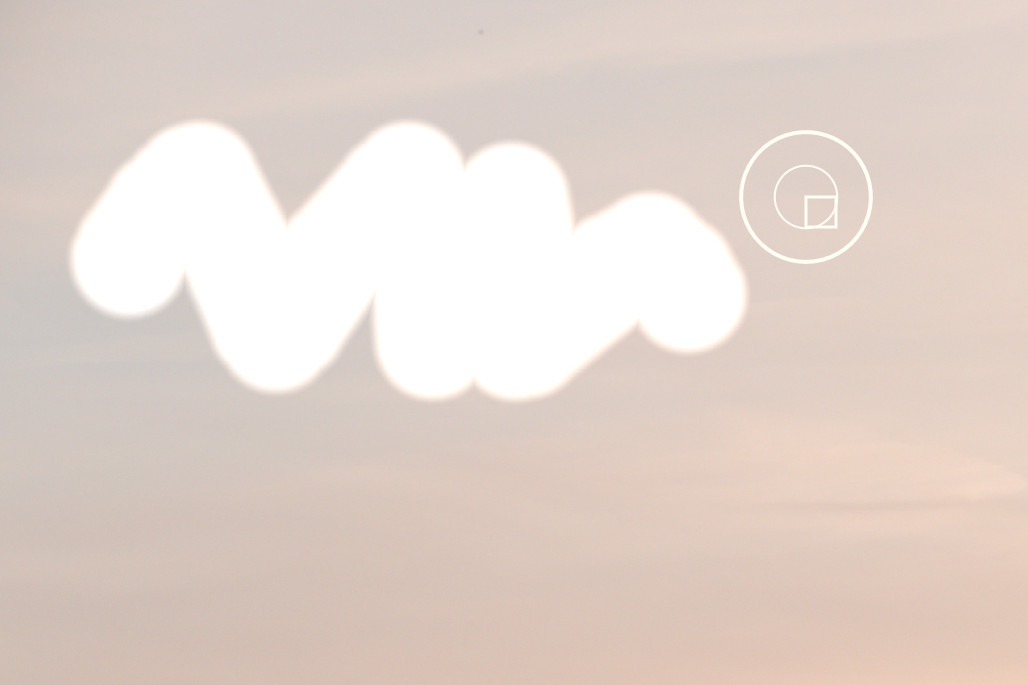
it can be observed better for lower transparency.
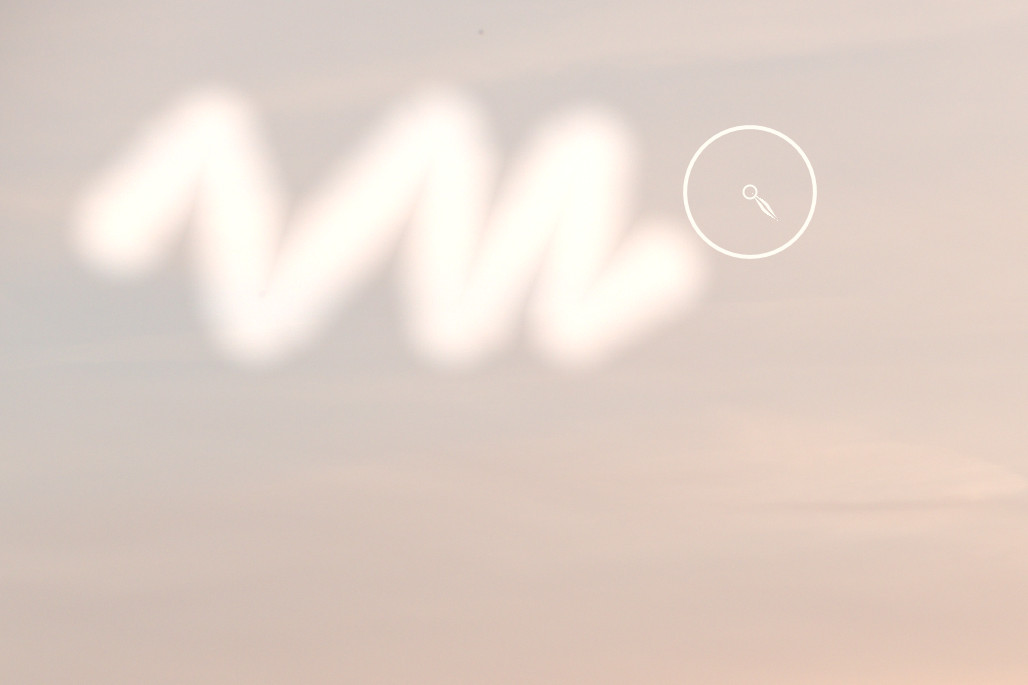
these examples also show how the strokes are blended together (via max) to seamlessly merge to 100%.
the guided filter module can be used to make the brush stroke adapt to edges in the image, and is present in the default draw block as mentioned above. as an example, consider this brush stroke, which is transformed by the guided filter to look like the left overlay (drag the triangle at the bottom of the white line to compare):
in this setup, the guided filter and the draw module are wired the following way:
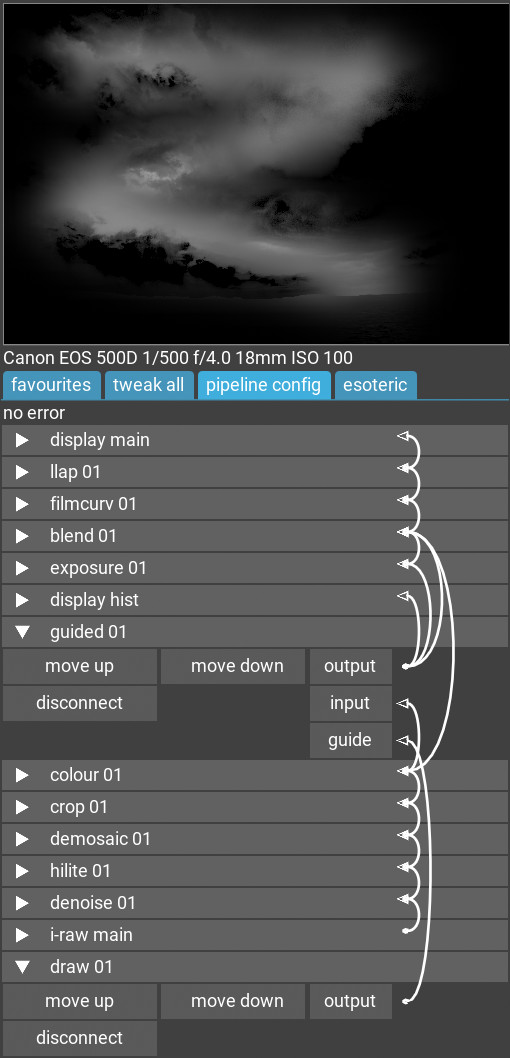
and the masked area has an additional exposure module applied before blending
back, in the spirit of dodging/burning. you can insert any other modules here, of course.